Apple didn’t get rich by writing a lot of cheques, or by giving something away when it could charge for it later. Even when that something would mean your iPhone wasn’t left kicking around on the computer desk, getting scratched up and knocked off.
All we get from Apple is a poxy little USB cable, while Steve Jobs and Tim Cook sit on a mountain of sweet-smelling cash, rubbing coins on their faces and smoking roll-ups made from £20 notes that they lit with a £5 note - all because we went out and bought a dock for our iPhone that should have had one included in the box!
Where was I? Oh yes - picking my iPhone up off the floor.
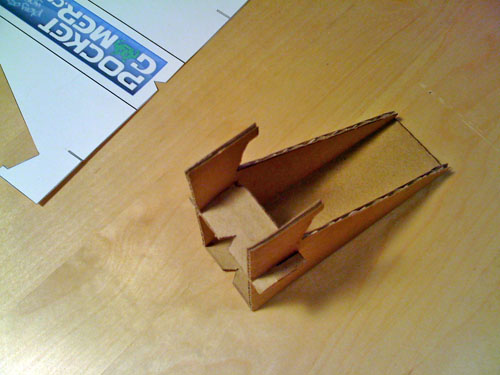
But no longer. I decided to learn by Apple’s thrifty example and made my own iPhone stand from recycled cardboard.
That’s right, Cook! How do you like them… Apples. Hmm, he probably likes them quite a lot. Not the best sting I’ve ever administered to The Man, but you get the point.
Apple’s got enough of your money, dear punter, so Pocket Gamer’s here to save you a few quid and show you how to make your own iPhone/iPod touch stand.
You’re very welcome.
 |
| Here’s a plan for your new stand. It’s A4 landscape size, and gives you all the dimensions so you can measure out and draw the flattened iPhone stand on a piece of cardboard. |

|
 |
| Here’s another version of the same picture but without the dimensions. You can lay it out in your favourite printing package - expanding the picture size so it fits exactly into a piece of A4 - and print it onto some nice thick cardboard if you happen to have any. |
 |
 |
| Or, as we’ve done, you can print it onto a sheet of A4, cut it out and use it as a template. |
 |
 |
| Cut the small square off the top of the stand (this is a support that’ll help it keep its shape). The schematic in Step 1 shows you where the cut line is. Cut the two triangular notches out - one on the support and once at the bottom of the stand. |
 |
 |
| Draw around your template onto some reasonably thick card. We’re using some old Amazon packaging – not too thick, but plenty strong enough to support an iPhone. |
 |
 |
| Cut out the cardboard, being careful not to put any undue folds in it. Also, don’t kill yourself with scissors or a craft knife, ya dimwit. |
 |
 |
| Draw the two folds onto your cardboard stand, noting that they’re 5mm in from the point at which the sides slope away (again, check the schematic in Step 1 for clarity). |
 |
 |
| Squash the fold lines with your ruler so you get nice straight folds in the cardboard. |
 |
 |
| Fold the two sides in toward each other.
Cut notches into both the stand and the small support piece as shown on the schematic in Step 1. All the slots should be 10mm in length, and, depending on the thickness of your cardboard, you might want to make them wider than a scissor cut so the cardboard will fit through the gaps as you fit them together. |
 |
 |
Line up the notches on the stand and the support, and slide them together with the stand's sides at 90 degrees to the back. |
 |
 |
| Push the support all the way into the stand, so that… |
 |
 |
| …when you stand it upright, the whole thing sits flat. |
 |
 |
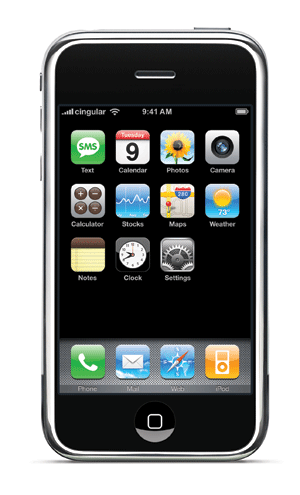
| Put your iPhone on it and marvel at your ingenuity as you realise, with growing pride, that it could also go on in landscape for watching films and stuff. |
 |
 |
| You’ll notice that, thanks to the height of the stand’s base and the two triangular notches we cut into the stand and the support piece, the cheap USB cable Apple gave you can be connected while the iPhone’s on its stand. The cable feeds through the notches and out the back. |
 |
 |
| It also means you can leave your big fat case on the phone while it’s on the stand and charging. |
 |
 |
| And if you think that’s awesome, check out its bigger brother that, with the addition of a £3 USB keyboard, turns your lappy into a desktop PC! |
 |
|


